
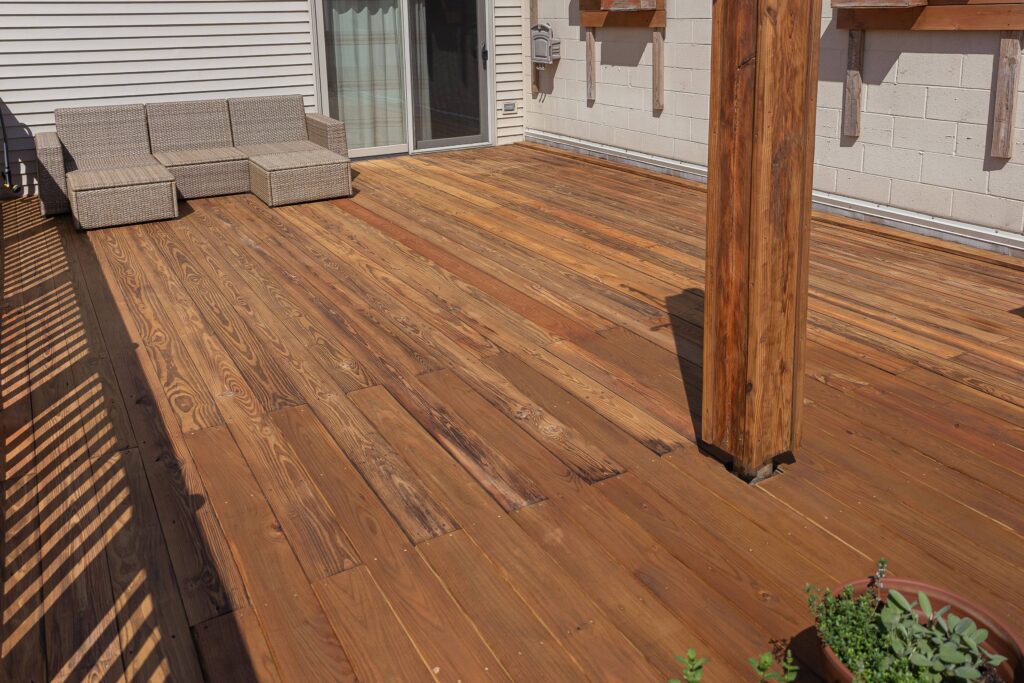
Hardwood floors can look tired long before they’re actually worn out. Foot traffic, sun exposure, and everyday wear dull the finish and leave scratches mopping won’t fix. The good news: most floors don’t need replacing — they need refinishing. A properly executed refinishing job can make a floor look brand new for a fraction of the cost of new flooring, and can be done more than once over a floor’s life. This guide covers the process from inspection to final coat, plus cost and when to call a pro.
Key Takeaways
- Refinishing starts with an honest inspection: remaining wood depth, not just visible scratches, determines whether it’s possible.
- Sanding happens in progressive grit stages: jumping from coarse to fine grit leaves visible swirl marks and uneven color absorption.
- Dust containment matters as much as technique: fine wood dust travels through HVAC systems and settles for days without proper sealing.
- Stain is optional: many homeowners now choose a clear finish that highlights the wood’s natural grain.
- Water- and oil-based polyurethanes trade off differently on dry time, durability, and color.
- Not every worn floor can be refinished: cupped, rotted, or over-sanded boards usually need repair or replacement instead.
How to Tell If Your Floors Need Refinishing
Not every dull or scratched floor needs a full sand-and-refinish — sometimes a deep clean and a fresh coat of polyurethane (recoating) is enough. The real test is whether wear has gone through the finish and into the wood. Run a fingernail across a high-traffic area: if it catches on bare wood instead of gliding across a smooth topcoat, the finish is worn through. Water soaking in immediately instead of beading is another sign the topcoat is gone.
Graying or blackened boards near doorways, kitchens, or bathrooms often signal water damage refinishing can sometimes correct, if it hasn’t reached deep into the fibers. Distinct color variation between covered areas (under a rug) and exposed areas signals the finish has broken down from UV exposure and wear. Scratches only in the finish layer usually sand out easily; scratches that gouge the wood may need filler or spot repair first.
Step 1: Inspection and Assessing the Wear
Before sanding begins, a thorough inspection determines whether the floor can be refinished — and how many more times. Solid hardwood typically has enough wood above the tongue-and-groove joint for four to six refinishings; engineered hardwood’s thinner wear layer often allows only one or two before the veneer risks being sanded through.
A professional inspection also checks for issues sanding won’t fix: cupping, crowning, squeaky subflooring, and seasonal board gaps, with any damage flagged for spot repair. If you’re unsure how much wear layer remains, a hardwood floor repair assessment beforehand can save an unpleasant mid-project surprise.
Step 2: Prep Work and Furniture Removal
Every piece of furniture, area rug, and floor vent cover needs to come out of the room before sanding — not just pushed aside. Sanding equipment needs unobstructed access, and furniture left behind traps dust and interferes with an even finish. Closets, baseboards, and vents should be checked for staples, tack strips, or old carpet nails, which tear sanding belts and damage equipment.
This is also when loose or squeaky boards get face-nailed down and protruding nail heads are set below the surface. Skipping prep work is one of the most common reasons a job ends up with visible sanding marks or an uneven finish.
Step 3: Sanding — From Coarse to Fine Grits
Sanding moves from coarse to progressively finer grits — typically starting around 36–40 grit to remove old finish and level the wood, then 60 grit, then 100–120 grit for a smooth, stain-ready surface. Jumping straight to a fine grit skips the leveling step and leaves old finish behind; skipping between grits too fast leaves faint scratch patterns that become obvious once stain is applied.
A drum or belt sander handles the open floor, an edge sander reaches the perimeter, and a detail sander gets into corners. Buffing with a fine abrasive screen before the finish coat smooths remaining scratches and helps stain absorb evenly.
Dust Containment During Sanding
Sanding generates significant fine wood dust, and older homes add a concern: pre-1978 finishes may contain lead, which dry sanding can release into the air. The EPA’s Renovation, Repair, and Painting guidance outlines lead-safe practices for older homes, including containment barriers and cleanup protocols. Modern dustless sanding systems attach a vacuum directly to the equipment, capturing most dust before it settles into HVAC ducts and adjoining rooms; sealing doorways with plastic sheeting and shutting off central air further eases cleanup.
Step 4: Choosing a Stain (or Skipping It)
Once the floor is sanded and vacuumed, the next decision is whether to stain the wood or leave it natural under a clear finish. Staining can unify boards with slightly different tones, common when patching in replacement boards. Lighter stains and natural finishes are popular because they show off grain and make rooms feel larger, while darker stains hide scuffs between cleanings but show every footprint and pet hair.
Always test a stain sample on an inconspicuous section of the actual floor, since the same stain looks different on red oak than on white oak or maple. Water-based stains dry faster and raise the grain slightly, requiring light sanding afterward; oil-based stains penetrate deeper and allow more time to even out color. This is also when tinted wood filler goes into nail holes and gaps so repairs blend in.
Step 5: Sealing and Topcoat Options
The topcoat protects the floor day to day — it resists scratches, spills, and foot traffic, not the stain underneath. Polyurethane is the standard choice for most homes, applied in two to three coats with light sanding or buffing between coats.
Oil-Based vs. Water-Based Polyurethane
Oil-based polyurethane is prized for durability and the warm amber tone it develops with age, but has a strong odor and longer dry time. Water-based polyurethane dries clear, preserving the true color of the stain or wood, has lower odor, and dries faster — a common choice when households need the space back quickly. Water-based formulas have closed much of the historical durability gap, though oil-based still holds up marginally better under heavy traffic.
Dry Time vs. Cure Time
A commonly misunderstood distinction: dry versus fully cured. Water-based polyurethane is dry to the touch within hours and safe for light sock traffic within 24 hours, but doesn’t reach full hardness for two to three weeks. Oil-based needs 24 to 48 hours before light traffic and a similar cure window. Rugs and furniture should stay off until fully cured, not just dried, or you risk permanent impressions.
When Refinishing Isn’t Enough: Repair or Replacement
Refinishing removes only a thin surface layer, so it can only correct damage that doesn’t go deeper. Boards cupped or crowned from long-term moisture, warped near a leak, or rotted at bathroom or kitchen edges typically need replacement rather than sanding, since flattening a warped board removes more wood than it has to spare. Deep pet urine stains often remain visible even after sanding, since the discoloration goes deeper than a standard pass reaches.
Floors already refinished several times are worth checking first, since sanding through the wear layer to the tongue-and-groove joint compromises structural integrity. A hardwood floor repair evaluation can determine whether individual boards can be replaced and blended in — usually far more cost-effective than replacing an entire room.
Cost Factors and DIY vs. Hiring a Pro
Refinishing costs vary with square footage, floor condition, finish, and local labor rates. Rooms with more corners, closets, and built-ins take longer to edge than open spaces, and stairs or inlays add labor time. Wood species matters too — dense woods like oak sand predictably, while softer woods gouge more easily.
Average Cost Ranges
- Basic recoat (no sanding, new topcoat only): the least expensive option, suitable only if the existing finish hasn’t worn to bare wood.
- Standard sand-and-refinish: the most common project, priced per square foot and scaling with room complexity.
- Refinishing with board repair or replacement: costs more due to matching wood species, grain, and color.
- Custom finishes, borders, or inlay work: priced at a premium for the added hand-detailing.
When DIY Makes Sense — and When It Doesn’t
Renting a drum sander and doing a small, low-traffic room yourself is realistic for a confident DIYer with a structurally sound floor. The most common DIY mistake is leaving the sander in one spot too long, gouging a dip that’s hard to correct. Whole-house projects, valuable flooring, structural issues, and pre-1978 homes needing lead-safe containment are better left to an experienced hardwood floor refinishing team, which brings dust-contained equipment and the experience to spot hidden problems before they grow.
Frequently Asked Questions
How long does hardwood floor refinishing take from start to finish?
Most single-room projects take two to four days, including sanding, staining, and finish coats with dry time between each. Whole-house projects or extensive repairs can take a week or longer, and full cure extends beyond visible completion, so factor that into furniture-moving plans.
Can I stay in my house during refinishing?
It depends on scope and finish. Water-based finishes have lower odor and shorter dry windows, making it easier to stay home, though the room worked on is inaccessible. For whole-house jobs or oil-based finishes, many homeowners stay elsewhere for a few days.
How many times can a hardwood floor be refinished?
Solid hardwood can typically be refinished four to six times, since each sanding removes only a thin layer above the tongue-and-groove joint. Engineered hardwood has a much thinner wear layer and often allows only one or two refinishings.
Do I need to refinish my whole house, or just one room?
You can refinish a single room, but color and sheen may not match perfectly with adjoining rooms refinished at a different time. Many homeowners refinish contiguous open spaces together for a seamless look.
What’s the difference between refinishing and recoating?
Recoating applies a fresh topcoat over an existing finish that’s worn but hasn’t reached bare wood, without sanding first. Refinishing sands down to bare wood, which is necessary once wear has gone past the topcoat.
Will refinishing get rid of deep gouges or pet stains?
Shallow gouges typically sand out during a standard pass. Deep gouges or pet stains that have penetrated well into the fibers may remain faintly visible even after sanding, and in severe cases the affected boards may need replacement.
How soon can I put furniture back after refinishing?
Light sock traffic is usually fine within 24 hours for water-based finishes, but furniture and rugs should stay off until the finish has fully cured — typically two to three weeks — to avoid permanent impressions.
Refinishing hardwood floors is one of the more satisfying home improvement projects because the transformation is immediate and dramatic, but a long-lasting result depends on doing each step — inspection, prep, sanding, staining, sealing — correctly and in order. For homeowners who’d rather leave the dust containment, sanding technique, and finish selection to an experienced crew, Revive 360 Renovations offers full hardwood floor refinishing services across Chicago, along with ongoing hardwood floor maintenance guidance between cycles. If you’re unsure whether your floors need a light recoat, a full refinish, or board-level repair, reach out through the flooring services page for an assessment and recommendation.